
PURPOSE
This article describes how to setup a new Synergize Indexing station using the configuration present on an existing system. These steps can also be used for migrations to different workstations.
STEPS
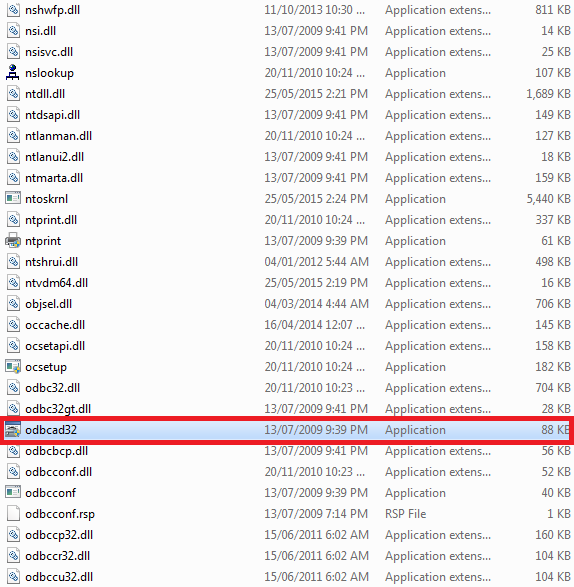
1. Verify on the old machine if a System DSN was created by launching the appropriate odbcad32 executable and navigating to the System DSN tab. The odbcad32 executable can be found in the C:\ Windows\ System32 directory
Note: If PC is a 32 bit system the odbcad32 executable file is located in the C:\Windows\SysWOW64 directory
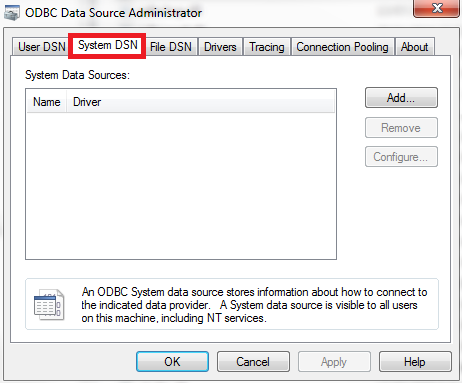
2. If no System DSN is present then a DSN will not need to be created on the new system. If one is present then create a replica on the new station noting if the new station is 32 or 64 bit. Please use the article referenced below if assistance is needed creating the replica.
https://support.microdea.com/hc/en-us/articles/204960720-How-To-Create-a-System-DSN-on-a-User-PC
Note: If a replica the System DSN will need to have the same name as the one located on the old workstation
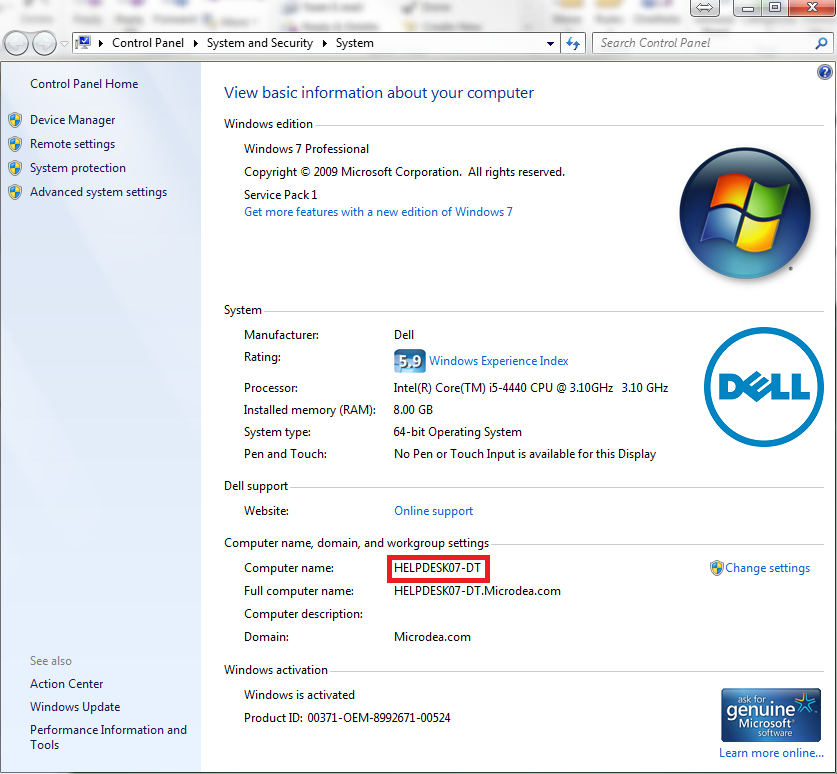
3. Obtain the PC name of new indexing station. This can be performed by navigating to the Control Panel. Afterwards select System and Security and then go to System
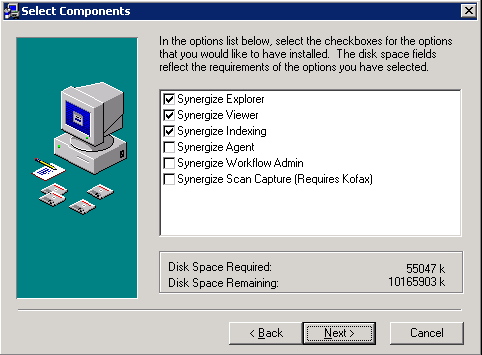
4. Install Synergize Client on the new machine and be sure to check Synergize Explorer, Synergize Viewer and Synergize Indexing.
5. Copy the indexing scenario sif files to the new machine.
6. Log on to the server hosting Synergize EMC and navigate to the Licensed Applications node.

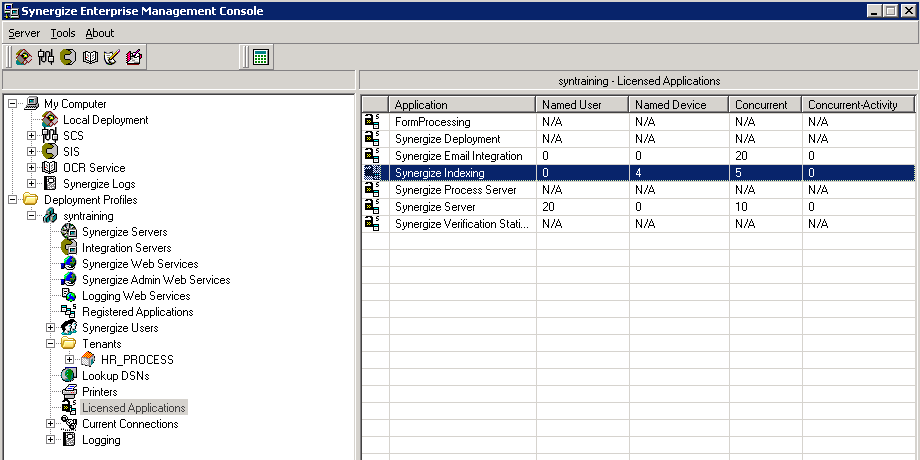
7. Doubleclick the Synergize Indexing pool and click the Add button. Afterwards enter the name of the new station and afterwards click the OK button. When finished click the OK button at the bottom right hand corner.
Note: If necessary you may need to remove the existing station from the license pool

Note. If you receive an error related to an indexing Add-in when testing please contact Microdea support.